> ## Documentation Index
> Fetch the complete documentation index at: https://docs.pullfrog.com/llms.txt
> Use this file to discover all available pages before exploring further.
# Getting started
Get Pullfrog up and running in your repository in just a few minutes.
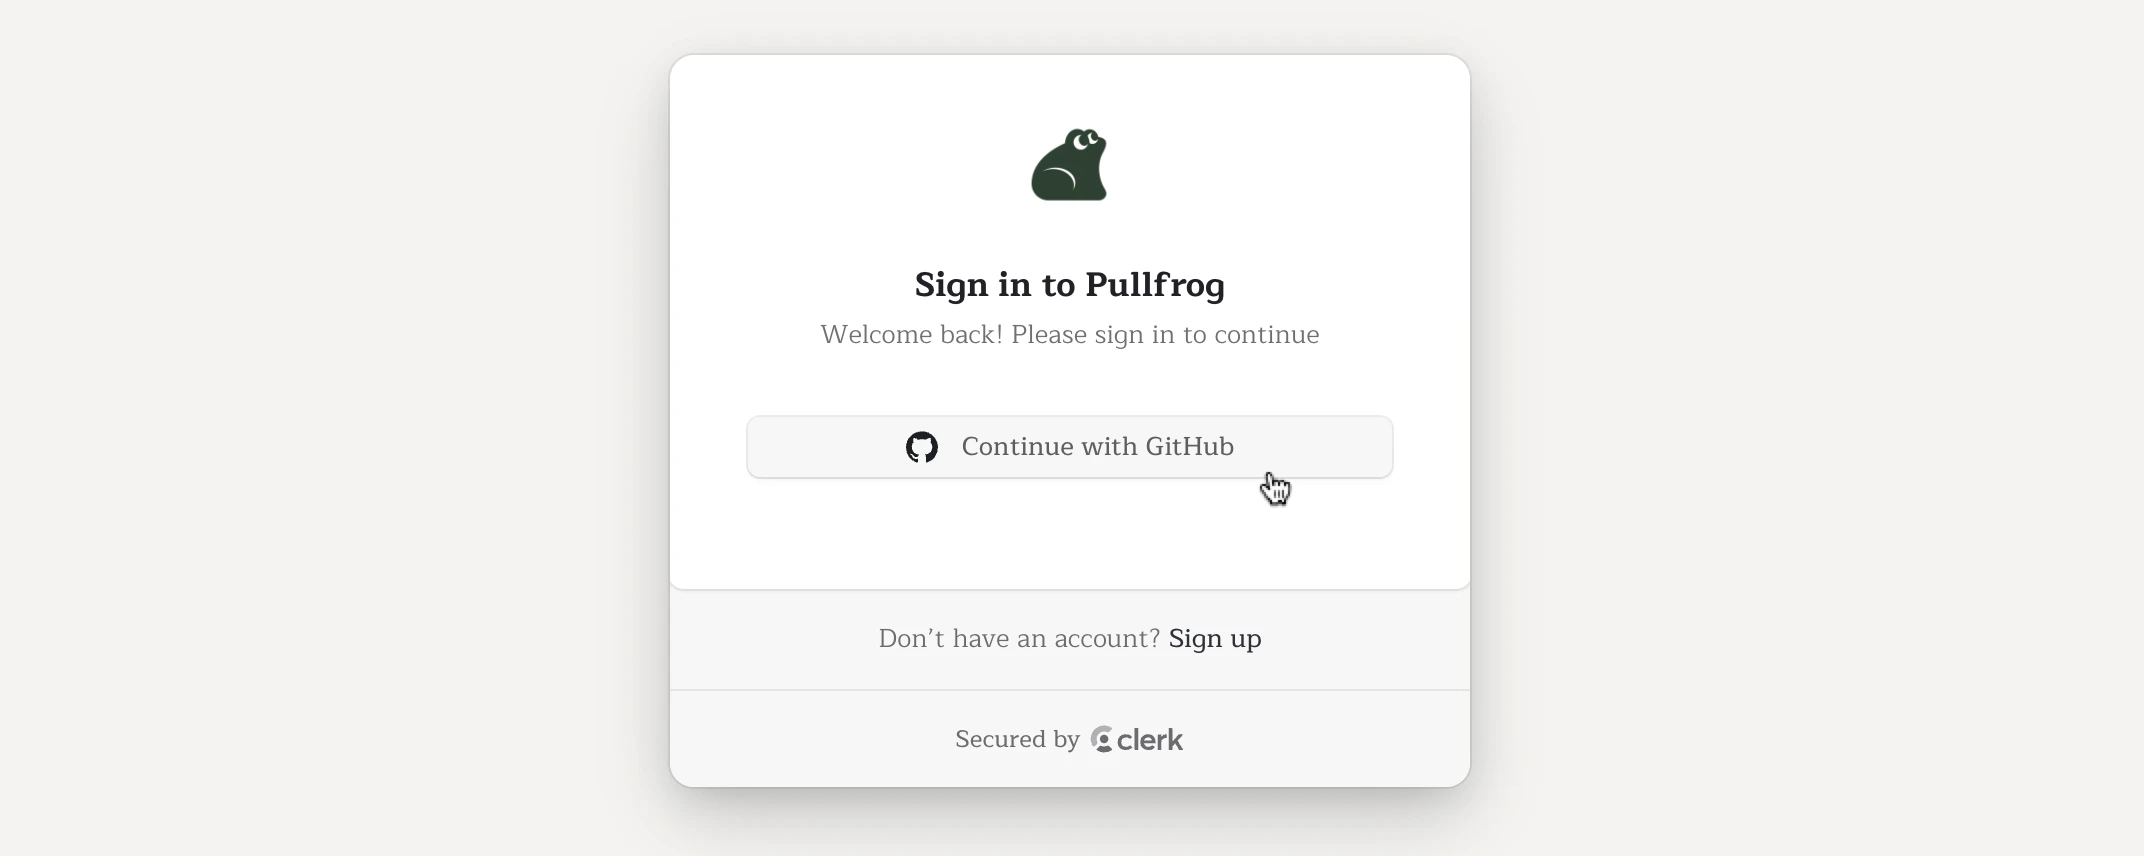
## Sign into Pullfrog console with GitHub
Navigate to the Pullfrog console and sign in with your GitHub account. This will authenticate you and allow Pullfrog to access your repositories.
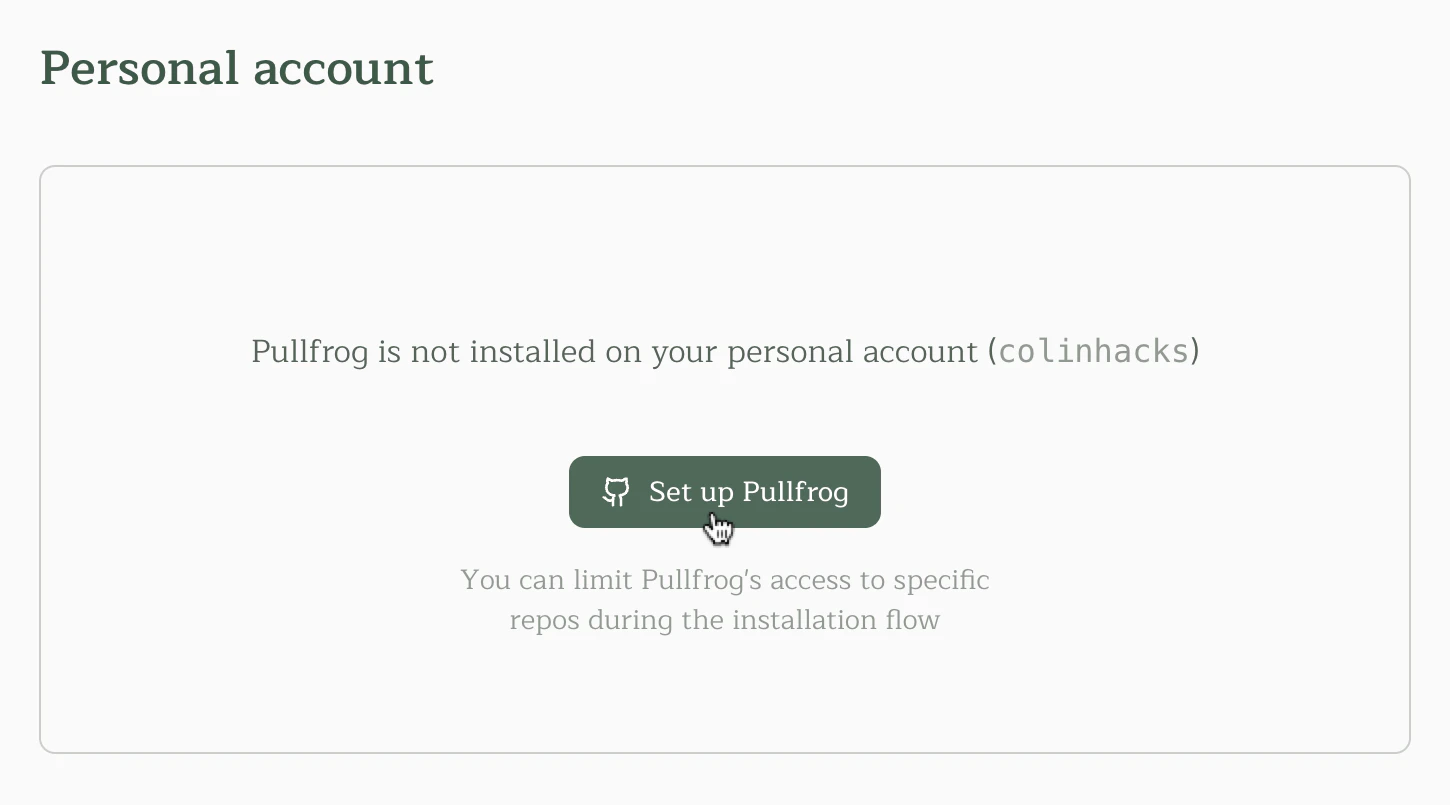
 ## Install the Pullfrog app
Install the Pullfrog GitHub App on a GitHub account. During installation, you can choose to limit access to specific repositories or grant access to all repositories.
You can install the Pullfrog GitHub App on your personal account:
## Install the Pullfrog app
Install the Pullfrog GitHub App on a GitHub account. During installation, you can choose to limit access to specific repositories or grant access to all repositories.
You can install the Pullfrog GitHub App on your personal account:
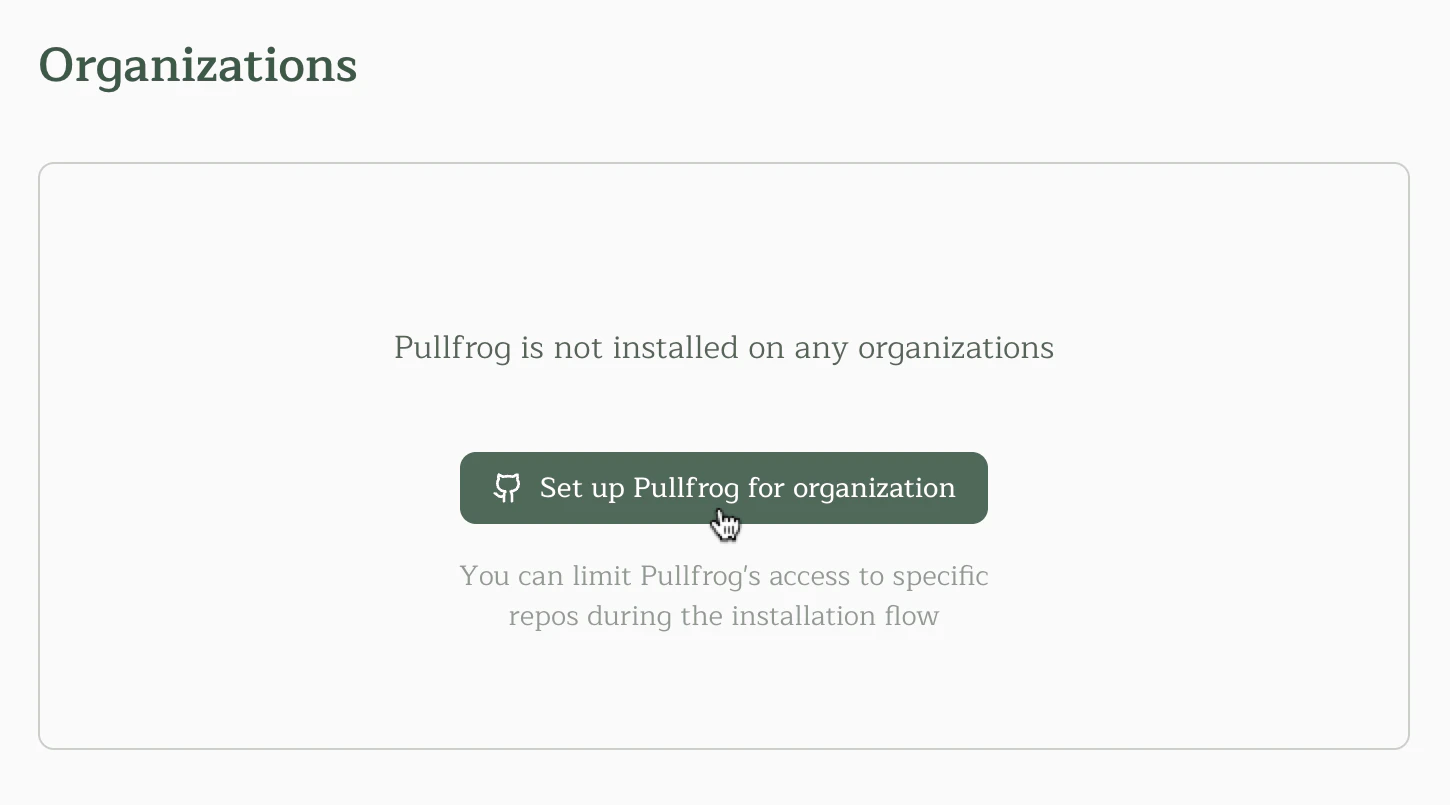
 Or on an organization you control:
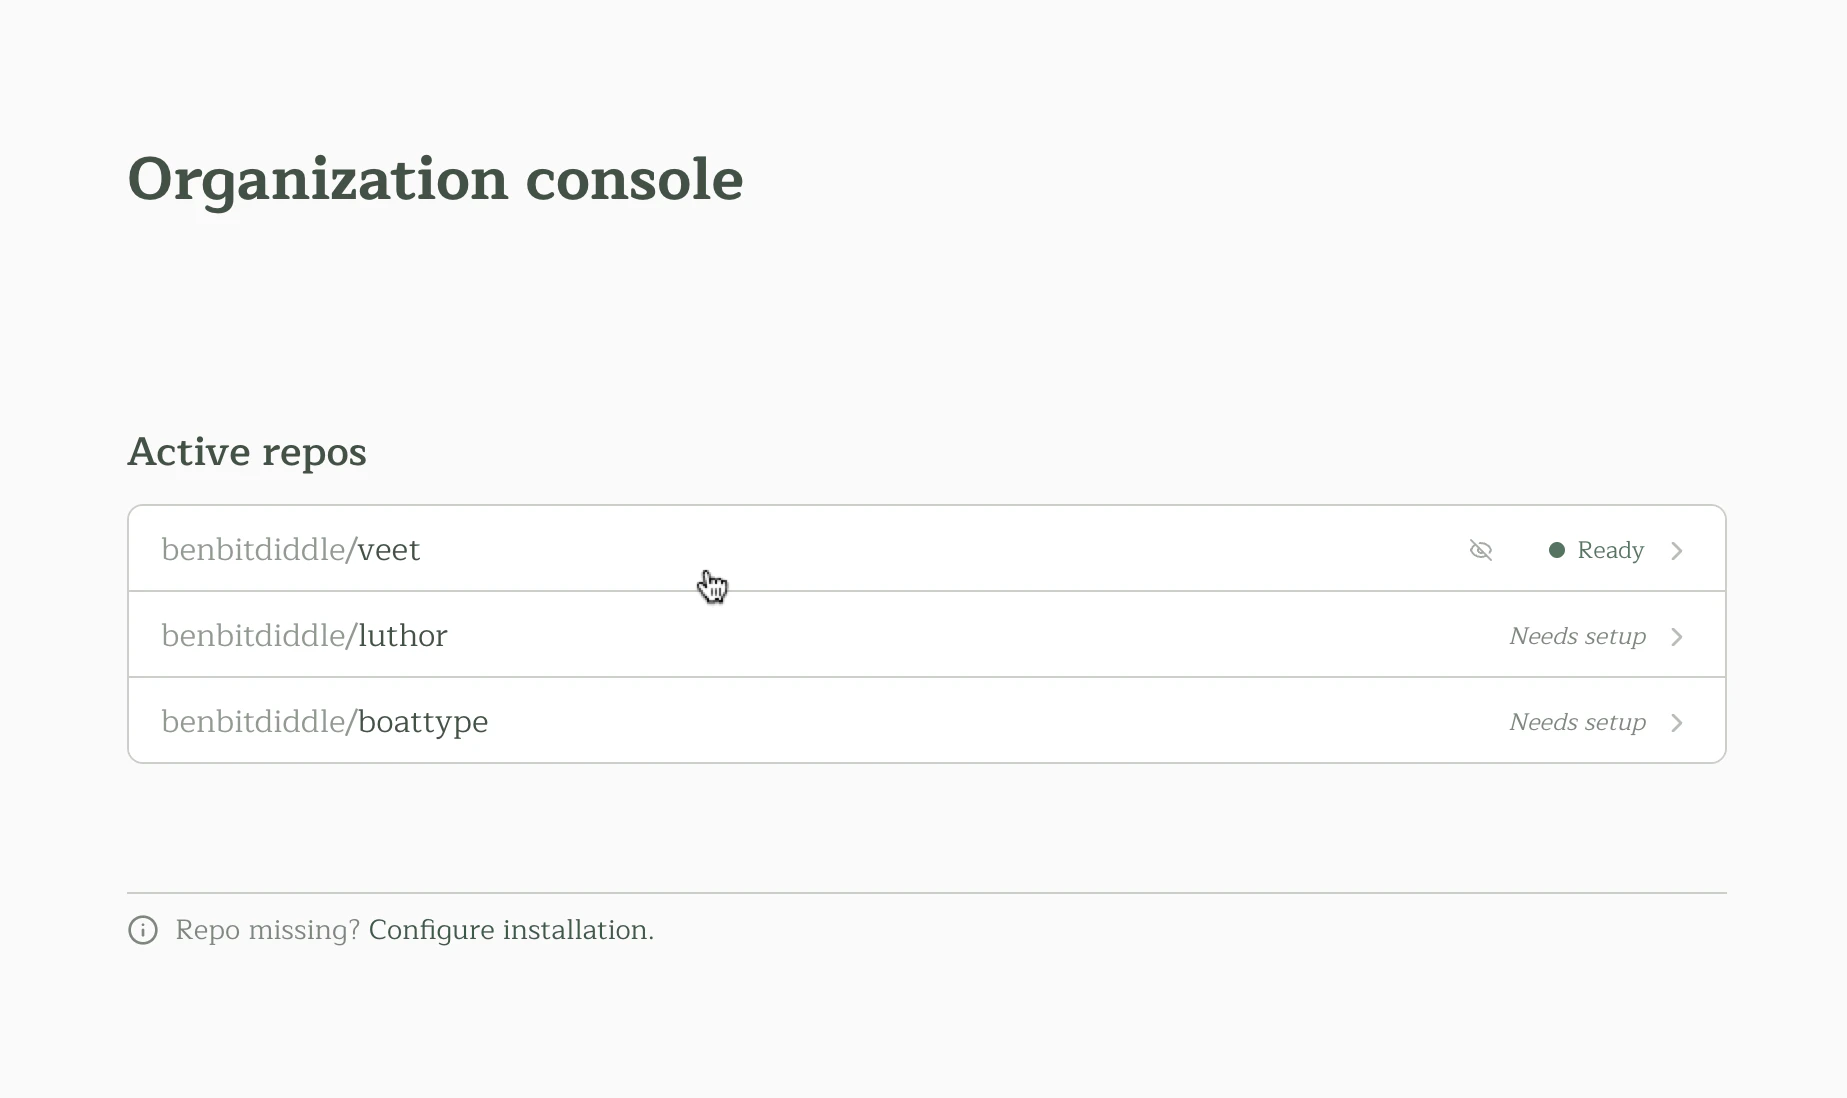
 After installation, you'll be redirected to the Pullfrog dashboard.
## Select a repository
Select a repository you'd like to configure. While GitHub Apps are installed at the *account* level, all Pullfrog configuration is at the *repo* level — each repository has its own settings for triggers, modes, and agents.
After installation, you'll be redirected to the Pullfrog dashboard.
## Select a repository
Select a repository you'd like to configure. While GitHub Apps are installed at the *account* level, all Pullfrog configuration is at the *repo* level — each repository has its own settings for triggers, modes, and agents.
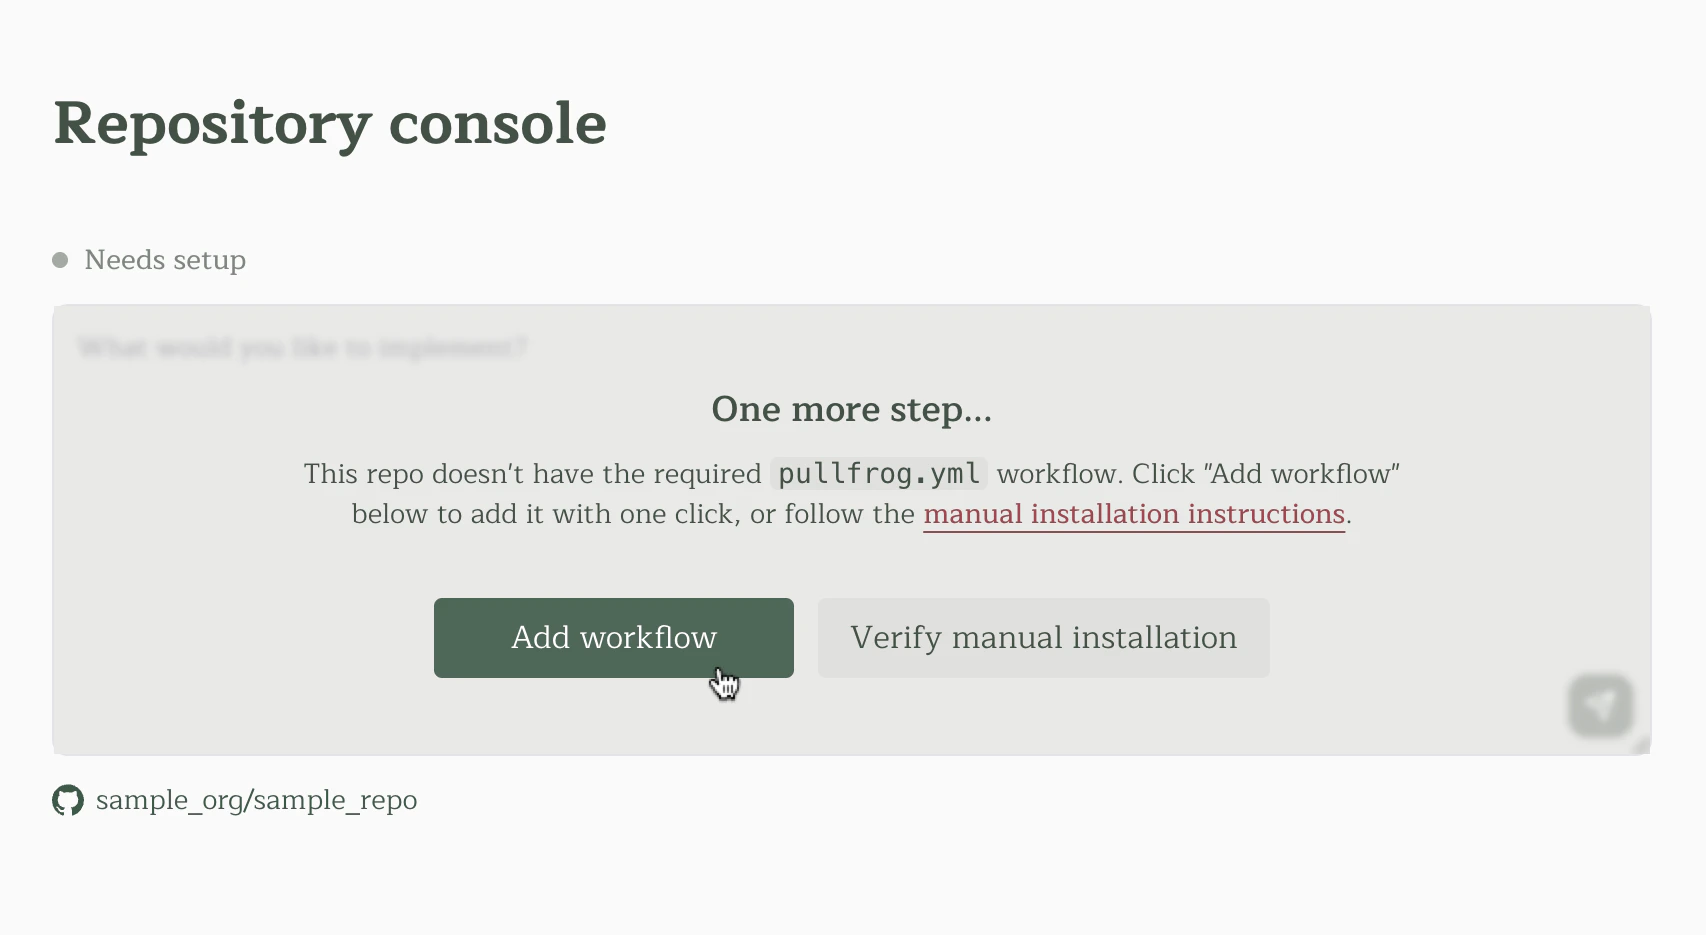
 ## Add the `pullfrog.yml` workflow
You'll be prompted to create the `.github/workflows/pullfrog.yml` file in your repository. Pullfrog uses this workflow to programmatically trigger agent runs on your repo. You can add it with one click from the dashboard.
## Add the `pullfrog.yml` workflow
You'll be prompted to create the `.github/workflows/pullfrog.yml` file in your repository. Pullfrog uses this workflow to programmatically trigger agent runs on your repo. You can add it with one click from the dashboard.
 ### Manual workflow setup
If you prefer to add the workflow manually, create `.github/workflows/pullfrog.yml` with the following content. (`pullfrog.yaml` also works if you prefer that extension.)
```yaml theme={null}
name: Pullfrog
run-name: ${{ inputs.name || github.workflow }}
on:
workflow_dispatch:
inputs:
prompt:
type: string
description: Agent prompt
name:
type: string
description: Run name
permissions:
contents: read
jobs:
pullfrog:
runs-on: ubuntu-latest
permissions:
id-token: write
contents: read
steps:
- name: Checkout code
uses: actions/checkout@v6
with:
fetch-depth: 1
- name: Run agent
uses: pullfrog/pullfrog@v0
with:
prompt: ${{ inputs.prompt }}
```
No `env:` block is needed when you use Pullfrog Router or store provider keys as Pullfrog secrets — credentials are injected automatically at runtime. Add an `env:` mapping only if you keep keys in GitHub Actions secrets; see [BYOK](/keys#github-actions-secrets-alternative).
## Set up model access
Pullfrog needs a way to call an LLM provider on your behalf. You have two options — pick one:
### Option 1: Pullfrog Router (recommended)
Pick **Pullfrog Router** in the console and claim `$10` of free Router credit during the beta (open the **Router** tab — no card required). No provider keys to manage and no `pullfrog.yml` env wiring for model access.
Add a card under **Billing** when you want unlimited paid runs or auto-reload. See [Billing](/billing) for the full breakdown of plans, the Router, and top-ups.
### Option 2: Bring your own keys
If you'd rather use your own provider keys directly, store them as Pullfrog secrets in the **Model costs** card (no workflow edits) or in GitHub Actions secrets (mapped via `pullfrog.yml`'s `env:` block). See [BYOK](/keys) for both flows and a full list of supported provider env vars.
**Big Pickle** is free and needs no keys at all.
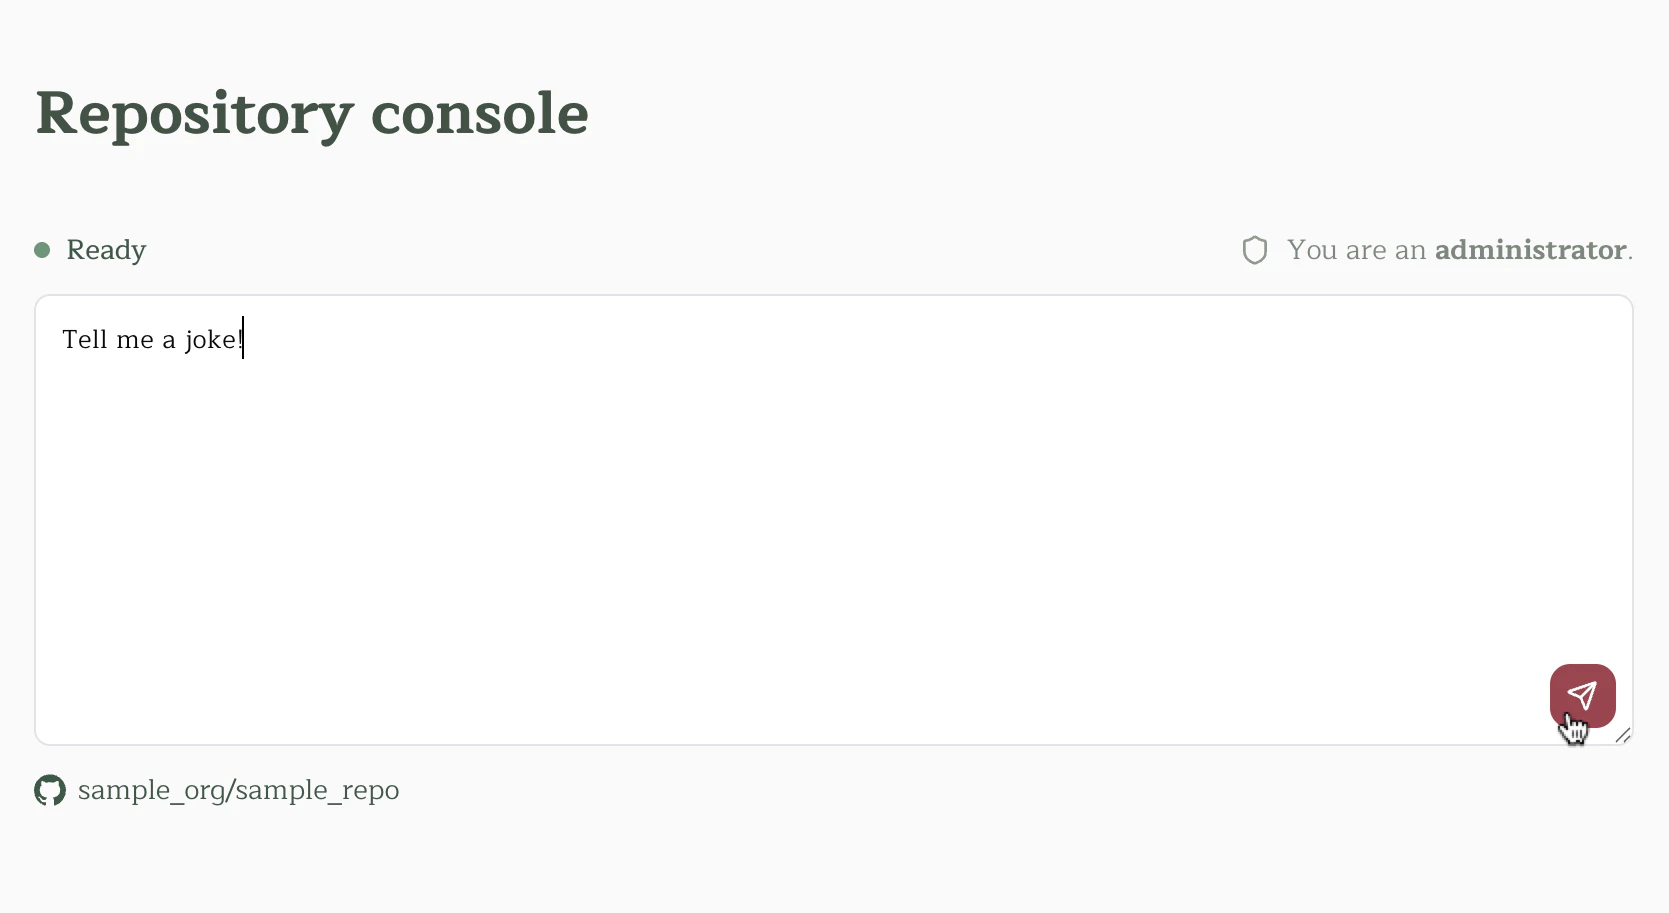
## Test your installation
Once the workflow is installed and your API keys are configured, you can test Pullfrog using the prompt box in the dashboard:
1. Navigate to your repository in the Pullfrog dashboard
2. Enter a prompt in the text box (e.g., "Tell me a joke")
3. Click the Send button, or press `Cmd+Enter` (Mac) or `Ctrl+Enter` (Windows/Linux)
### Manual workflow setup
If you prefer to add the workflow manually, create `.github/workflows/pullfrog.yml` with the following content. (`pullfrog.yaml` also works if you prefer that extension.)
```yaml theme={null}
name: Pullfrog
run-name: ${{ inputs.name || github.workflow }}
on:
workflow_dispatch:
inputs:
prompt:
type: string
description: Agent prompt
name:
type: string
description: Run name
permissions:
contents: read
jobs:
pullfrog:
runs-on: ubuntu-latest
permissions:
id-token: write
contents: read
steps:
- name: Checkout code
uses: actions/checkout@v6
with:
fetch-depth: 1
- name: Run agent
uses: pullfrog/pullfrog@v0
with:
prompt: ${{ inputs.prompt }}
```
No `env:` block is needed when you use Pullfrog Router or store provider keys as Pullfrog secrets — credentials are injected automatically at runtime. Add an `env:` mapping only if you keep keys in GitHub Actions secrets; see [BYOK](/keys#github-actions-secrets-alternative).
## Set up model access
Pullfrog needs a way to call an LLM provider on your behalf. You have two options — pick one:
### Option 1: Pullfrog Router (recommended)
Pick **Pullfrog Router** in the console and claim `$10` of free Router credit during the beta (open the **Router** tab — no card required). No provider keys to manage and no `pullfrog.yml` env wiring for model access.
Add a card under **Billing** when you want unlimited paid runs or auto-reload. See [Billing](/billing) for the full breakdown of plans, the Router, and top-ups.
### Option 2: Bring your own keys
If you'd rather use your own provider keys directly, store them as Pullfrog secrets in the **Model costs** card (no workflow edits) or in GitHub Actions secrets (mapped via `pullfrog.yml`'s `env:` block). See [BYOK](/keys) for both flows and a full list of supported provider env vars.
**Big Pickle** is free and needs no keys at all.
## Test your installation
Once the workflow is installed and your API keys are configured, you can test Pullfrog using the prompt box in the dashboard:
1. Navigate to your repository in the Pullfrog dashboard
2. Enter a prompt in the text box (e.g., "Tell me a joke")
3. Click the Send button, or press `Cmd+Enter` (Mac) or `Ctrl+Enter` (Windows/Linux)
 This will dispatch a new GitHub Actions run and automatically open the run logs in a new tab. Monitor the logs to ensure the agent works as expected.
## Next steps
* Set up [PR reviews](/pr-reviews), [issue enrichment](/issue-enrichment), and other automations
* Tune [Build](/coding-tasks#build-instructions) and [Review](/pr-reviews#review-instructions) instructions for your repo
* See [CI integration](/headless-action) for using the action as a primitive in custom workflows
This will dispatch a new GitHub Actions run and automatically open the run logs in a new tab. Monitor the logs to ensure the agent works as expected.
## Next steps
* Set up [PR reviews](/pr-reviews), [issue enrichment](/issue-enrichment), and other automations
* Tune [Build](/coding-tasks#build-instructions) and [Review](/pr-reviews#review-instructions) instructions for your repo
* See [CI integration](/headless-action) for using the action as a primitive in custom workflows